Turn on suggestions
Auto-suggest helps you quickly narrow down your search results by suggesting possible matches as you type.
Showing results for
Get 50% OFF QuickBooks for 3 months*
Buy nowI understand that having accurate data and reports is crucial for your business, Darrell and Stewart. If you notice added or substituted columns and data displayed incorrectly in QuickBooks Desktop, please upgrade to R13_50. This update has been released to address these issues. Let me provide you with further details.
Once upgraded, all your memorized reports will be fixed and start working as expected. However, if your memorized reports are still not working, there's a way to fix that.
Firstly, we'll need to create a backup copy of your company file. Then, locate the memorized reports that are not working as expected.
To create a company file, here's how:
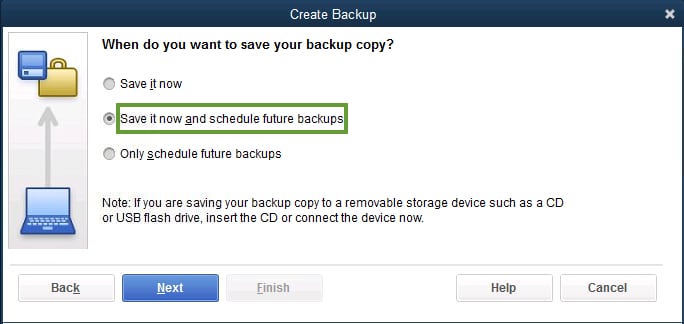
Once your backup file is complete, proceed to recreate the memorized reports.
If the issue persists, you can consider doing some basic data damage troubleshooting. This will help repair the data damage in your company file.
Feel free to refer to this article for detailed steps and guidance about fixing memorized reports in QBDT.
For detailed instructions on how to set up, modify, and manage scheduled reports in QuickBooks Desktop, and to ensure your reports are consistently up-to-date and automatically generated, please refer to this helpful article.
By leveraging these features, you can streamline your workflow and ensure your financial data is always readily available. If you have further questions or need additional assistance, don’t hesitate to reach out. I'm here to help you always.