Turn on suggestions
Auto-suggest helps you quickly narrow down your search results by suggesting possible matches as you type.
Showing results for
Get 50% OFF QuickBooks for 3 months*
Buy nowI appreciate all your efforts in explaining all your concerns and following our article, @Big-Al.
I have answers to all of your questions. Happy to share that with you so you can manage your credit card transaction accordingly. This way, your books will stay accurate.
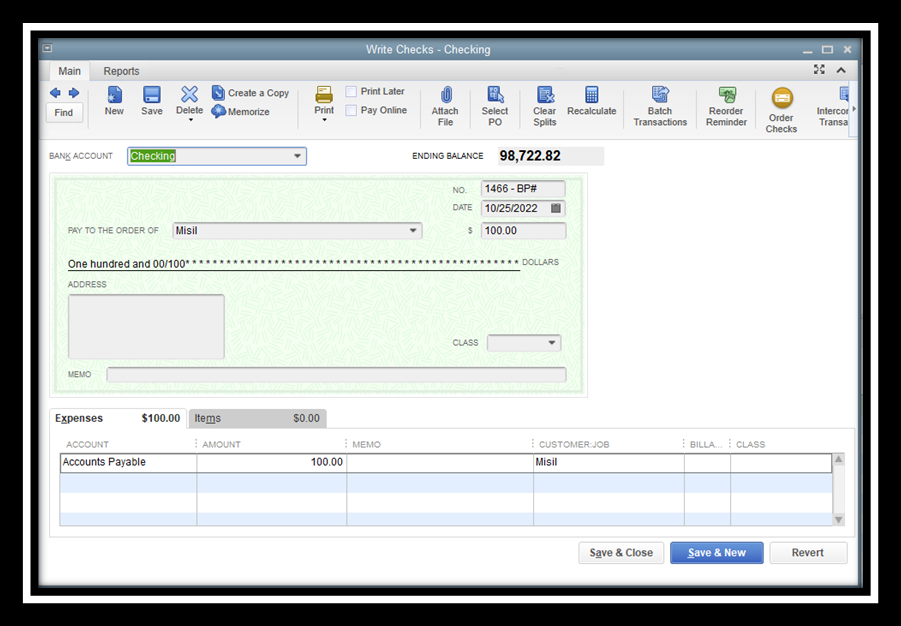
The first step is to generate a check using Accounts Payable. Ensure the Print Later box is unchecked so you can enter the BillPay number in the Check No field.
Go as follows:
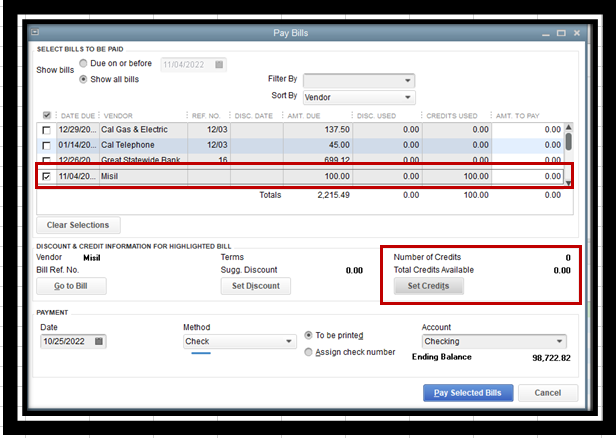
After that, let's create a bill if you still need to. Proceed with the following steps:

After that, pay the bill. Ensure the credits are in place and apply the check to the bill. For complete steps, check out this article: Pay bills in QuickBooks Desktop.
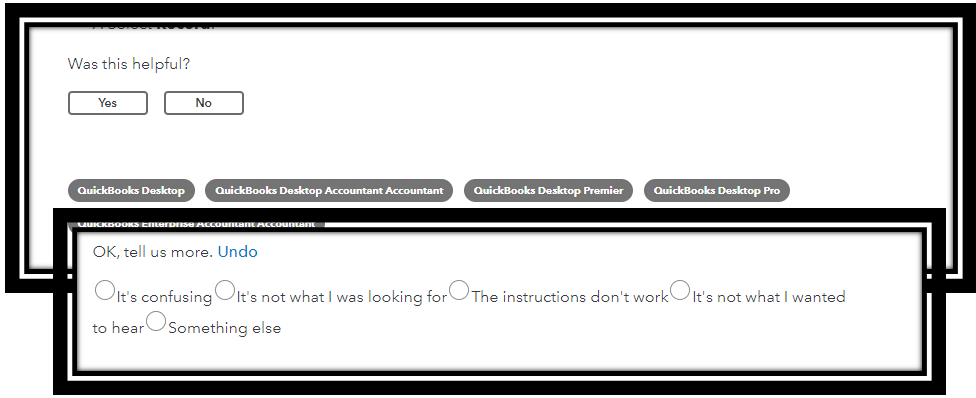
Regarding the obtuse term used in our article, I recommend sending feedback to our author. Choose an option from the Was this helpful? and follow the instructions on the screen.
Moreover, visit these articles below on how to reconcile accounts and Bill Pay FAQs in QuickBooks:
If you have other questions navigating your account, add them in the comment below. I'll be sure to get back to you. Keep safe always.