You can access QuickBooks Online anywhere you have an internet connection, from your computer or mobile device. It's always up-to-date and it only takes a few minutes to create an account and get up and running.
To choose your QuickBooks Online subscription, view our available pricing plans. If you need to upgrade or downgrade your subscription later, you can—you're not under contract.
Tip:
Review our system requirements before you start to make sure you have what you need for the best QuickBooks experience.
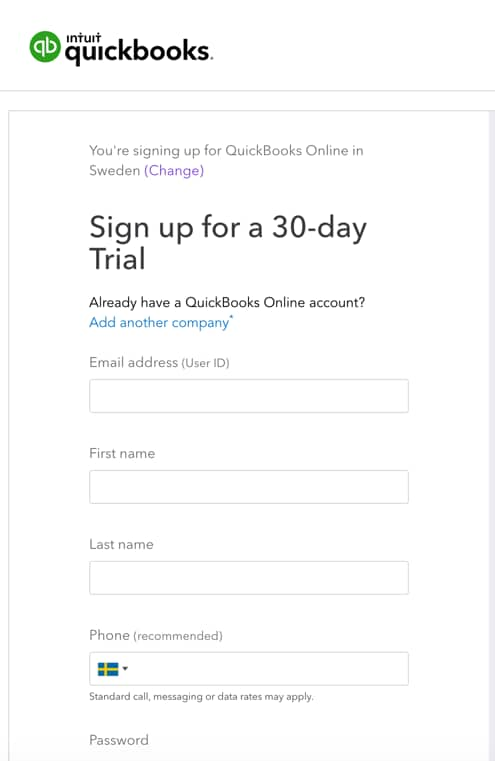
If you already have an account with Intuit for one of our other products, you can sign-up using the same user credentials. Make sure you select Add another company on the sign-up page. Otherwise, complete the sign-up form to create an account.
After signing in, answer a few questions about your business. This helps us set up your company file and tailor the program to better fit your needs.
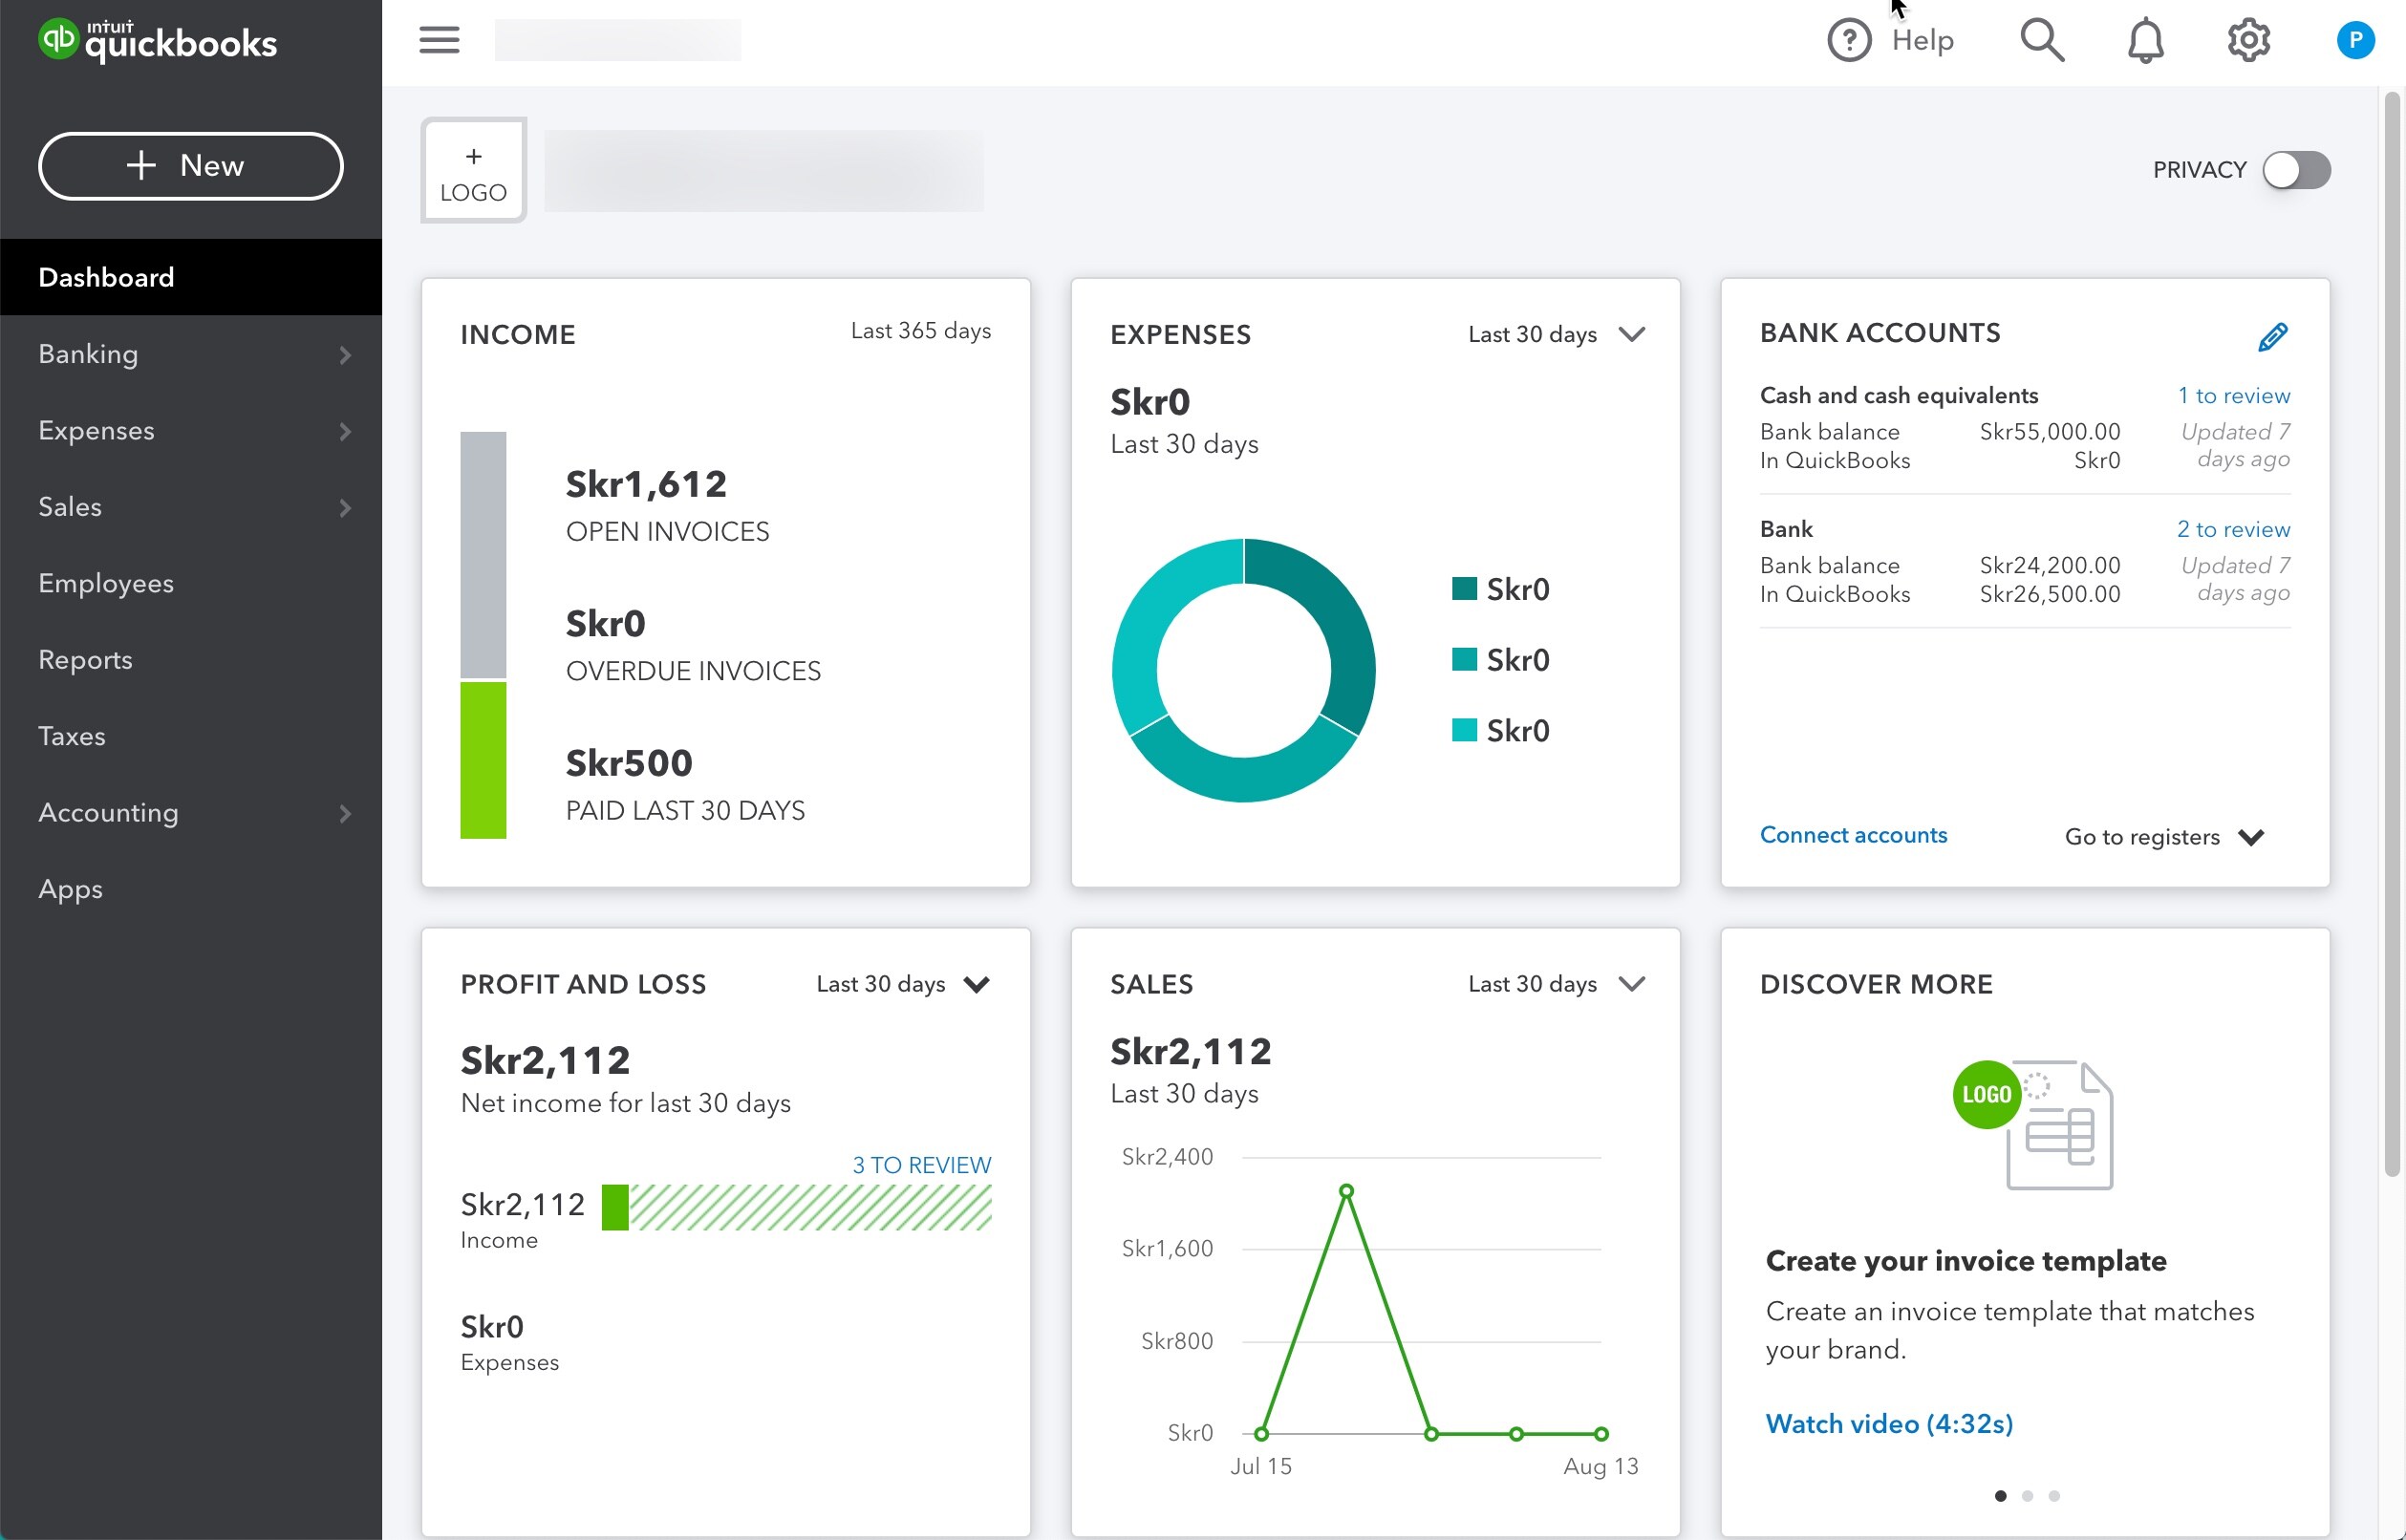
The QuickBooks dashboard displays next, which serves as the homepage for all of your QuickBooks activities. If you're looking for a quick snapshot of your business's health, this is where to find it.
The dashboard displays basic information on the current status of your income and expenses. These values change in real-time, displaying an updated overview of your company's finances:
Review our article for more about the home dashboard.
You can now start adding information about your business. Select Settings ⚙️, then Account and settings.
Complete the information in each section on the menu bar. QuickBooks asks you some questions as you proceed about what you need to do and how you plan to use the various functions. Your information is saved and automatically configures your settings. You can always adjust these settings later.
The bank feed is one of QuickBooks Online's most helpful and time-saving features.
When you link your bank and credit card accounts to QuickBooks Online, recent transactions are automatically downloaded and categorised for your review. You'll have up-to-date insight into your sales and expenses with virtually no data entry required.
If you need to add older information, you can upload historical transactions manually. This is required if you want to include information that existed prior to linking your bank and credit card accounts with QuickBooks Online.
To link a bank or credit card account:
Go to Bookkeeping, select Transactions, then select Banktransactions (Take me there) and select Add account.
If you have existing lists from another QuickBooks company or accounting application-such as those for suppliers, customers, inventory, or a chart of accounts-you can import them into QuickBooks Online.
Note:
If you have already successfully imported your supplier, customer, and inventory lists from another application, you can skip to Customise your invoice.
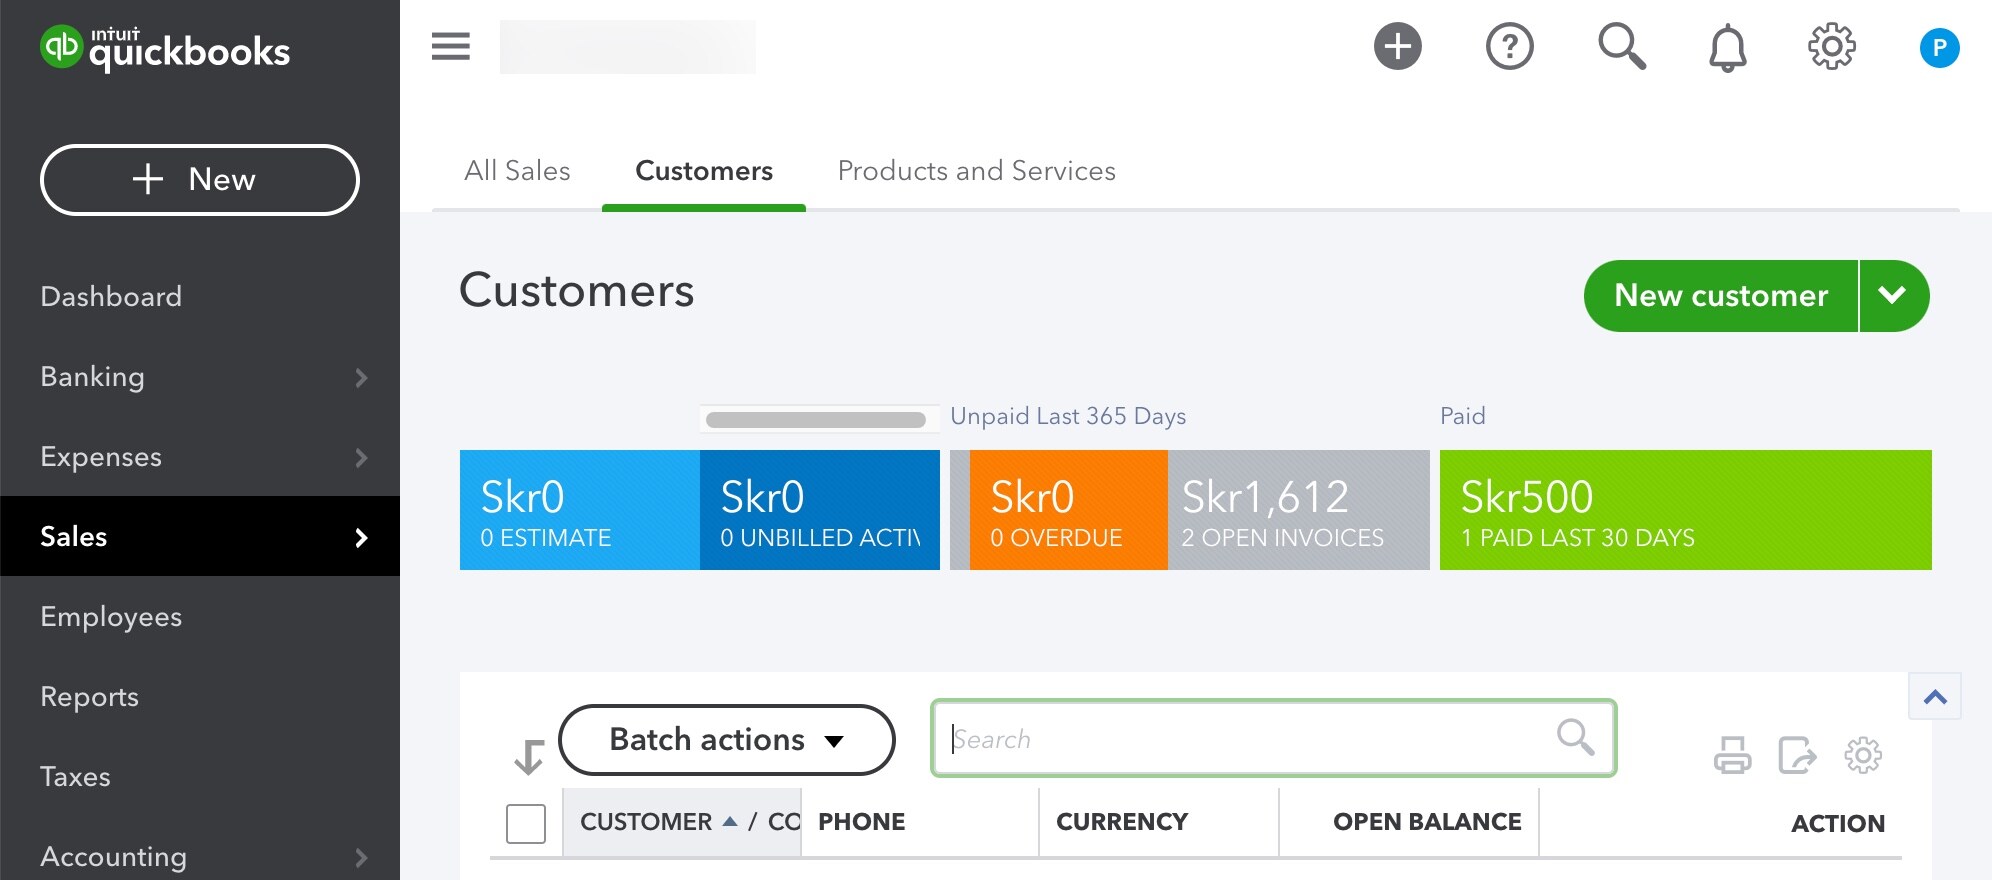
To enter your products or services manually, go to Get paid & pay and select Products and services (Take me there). Select Add a product or service or New. Enter the details for each product or service:
Set up and track your inventory
If your business manages inventory items, you can enable inventory tracking to help you track what's on hand, send alerts when it's time to restock, and show you insights on what you buy and sell.
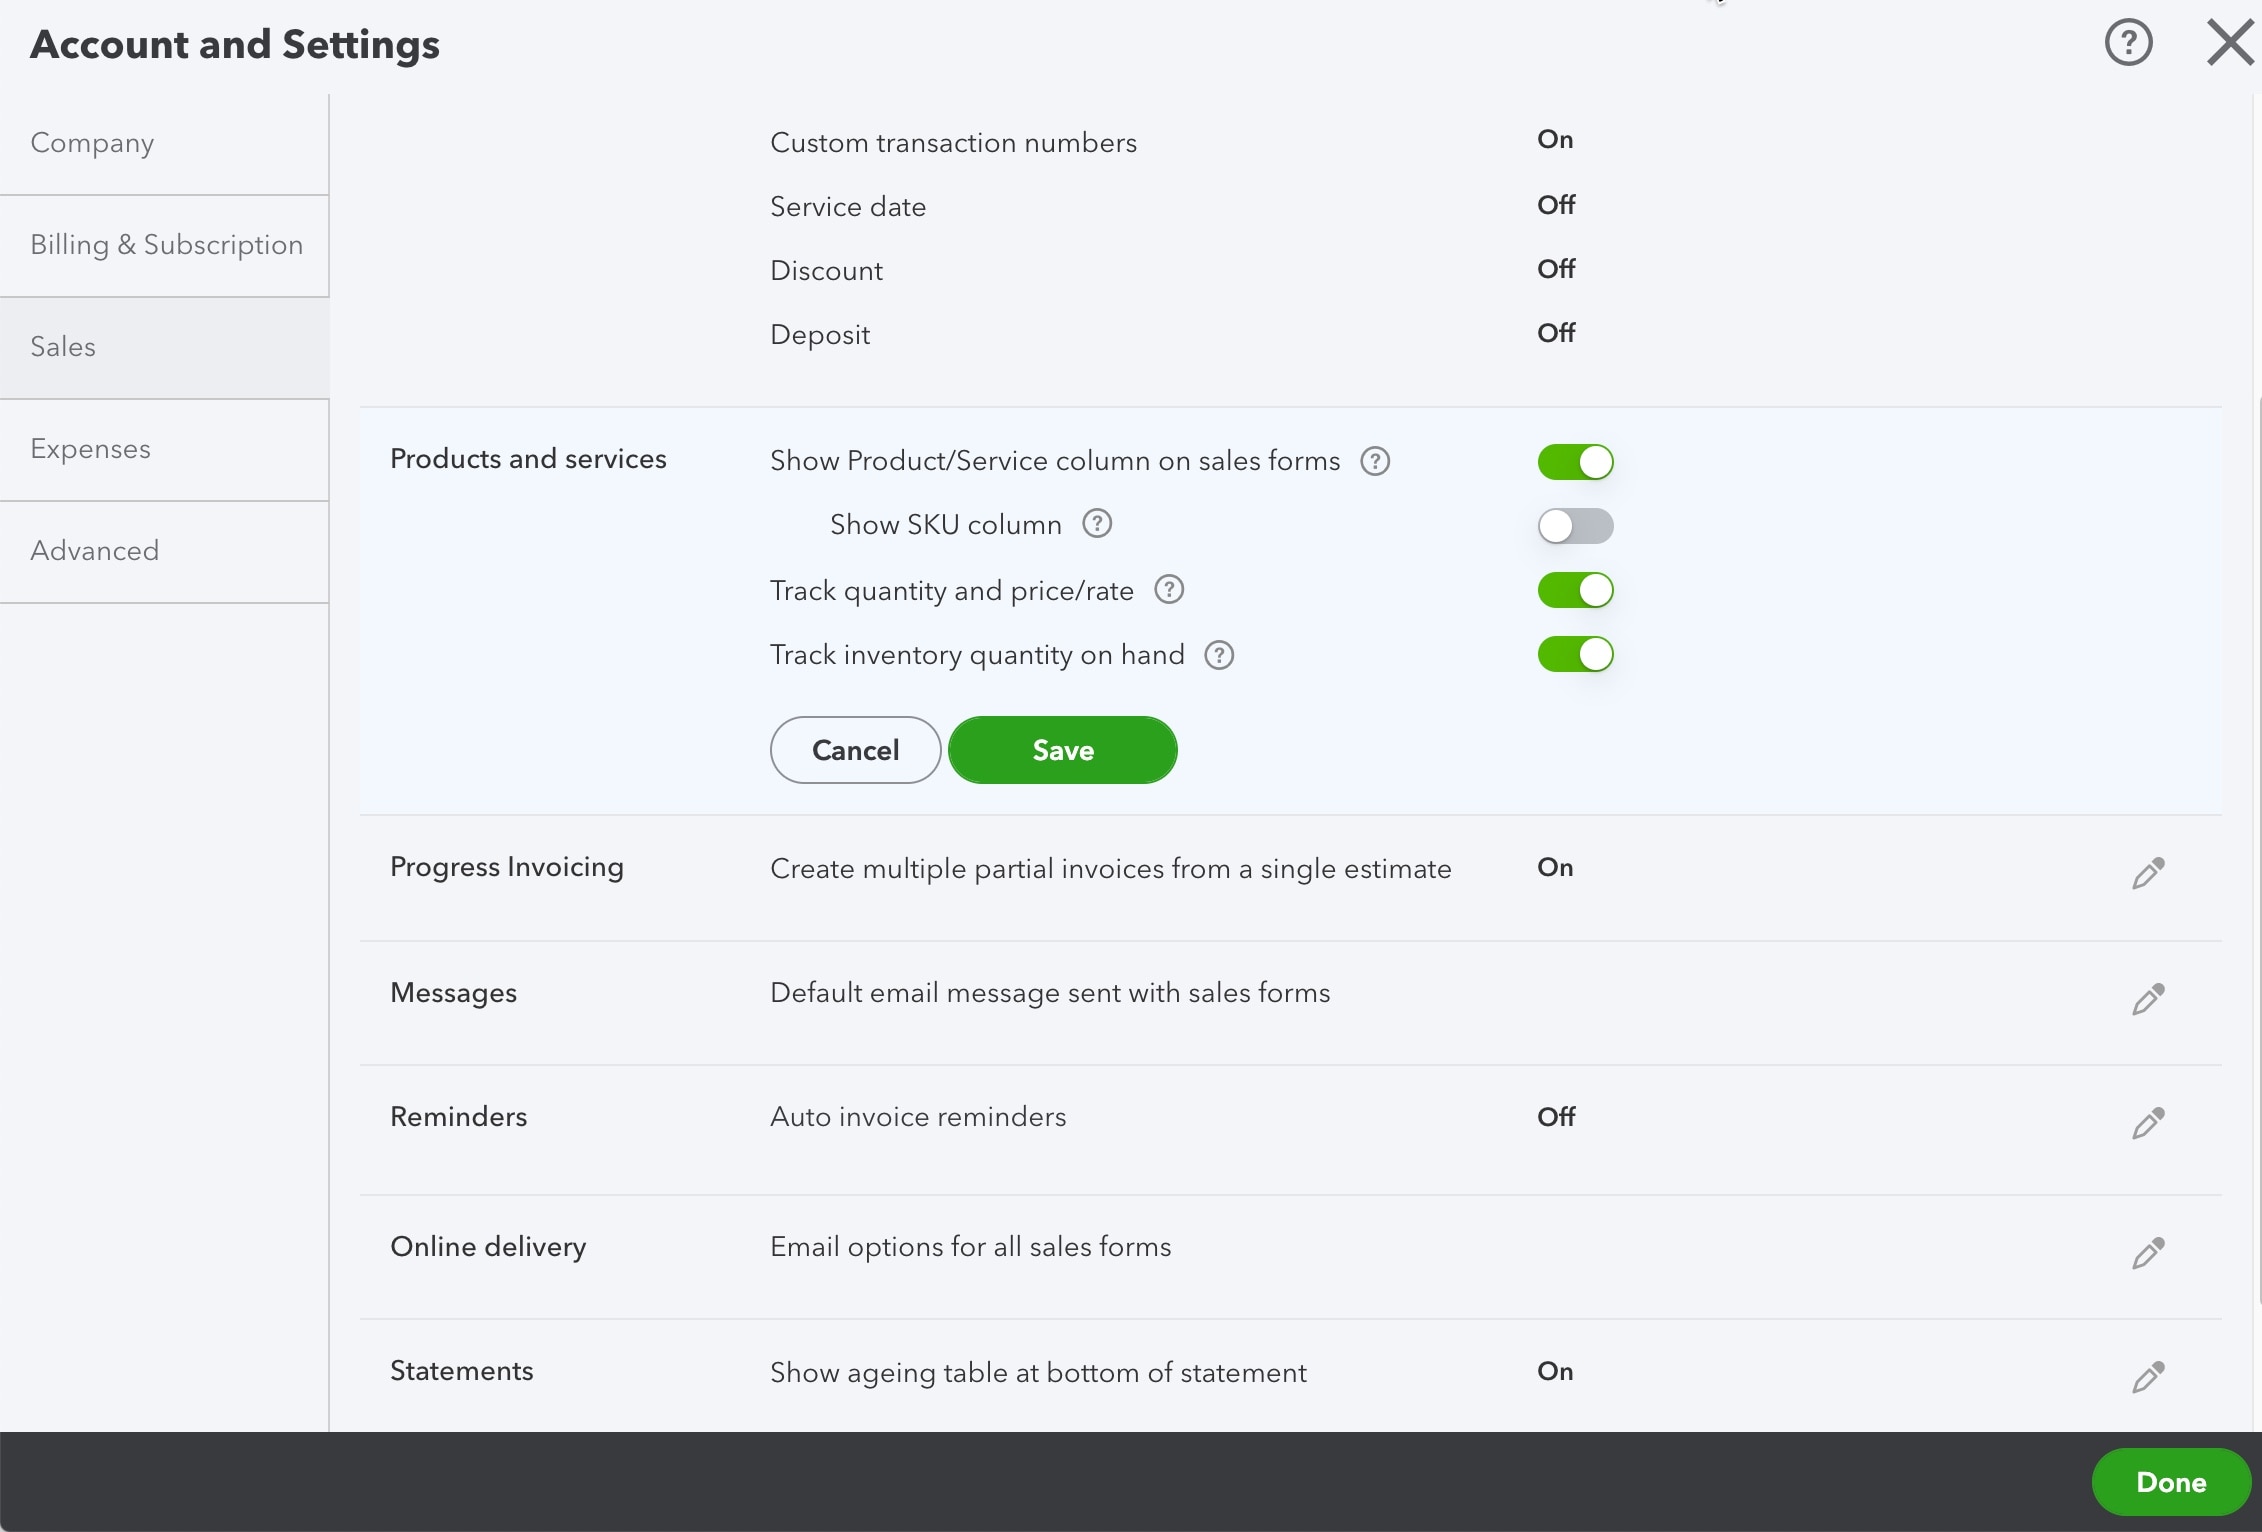
Note: Inventory tracking is only available in QuickBooks Online Plus. If you don't see the features you need to enable it, consider upgrading your subscription.
Select Settings ⚙️, then Account and settings.
Select Sales.
Under Products and services, select Edit pencil and ensure that both Track quantity and price/rate and Track inventory quantity on hand are set to On.
Invoices are an important part of running your business. Your invoice process runs more smoothly with customised invoices for individual customers.
Select + New and then select Invoice.
If you have existing invoices you'd like to import into QuickBooks, you can do so in batches. Review our video below on creating and sending an invoice for step-by-step instructions.
Invoices are an important part of running your business. Your invoice process runs more smoothly with customised invoices for individual customers.
Select + New and then select Invoice.
To customise the look of your invoice, select Customise from the bottom of the invoice. You can edit the existing template, or create a completely new style.
On the next page, you can add a logo, change the font and colour and add your bank details.
If you have existing invoices you'd like to import into QuickBooks, you can do so in batches. Review our video below on creating, customising, and sending an invoice for step-by-step instructions.
It's easy to add sales tax to your invoices and receipts and track how much you owe. Go to Taxes.
QuickBooks guides you through the process by asking a few questions about your company and how you currently manage sales tax. Review our setting up sales tax codes support article for step-by-step instructions.
If your company has employees, you can add employee data that allows QuickBooks to run payroll, create paycheques, handle labour-related taxes, track time, and more.
To add an employee, go to Employees and select Add an employee.
Adding users allows them the opportunity to help you manage your books, depending on the level of access you grant.
QuickBooks Online has five different user types:
Primary administrator
Company administrator
Standard users
Reports only users
Time tracking only users
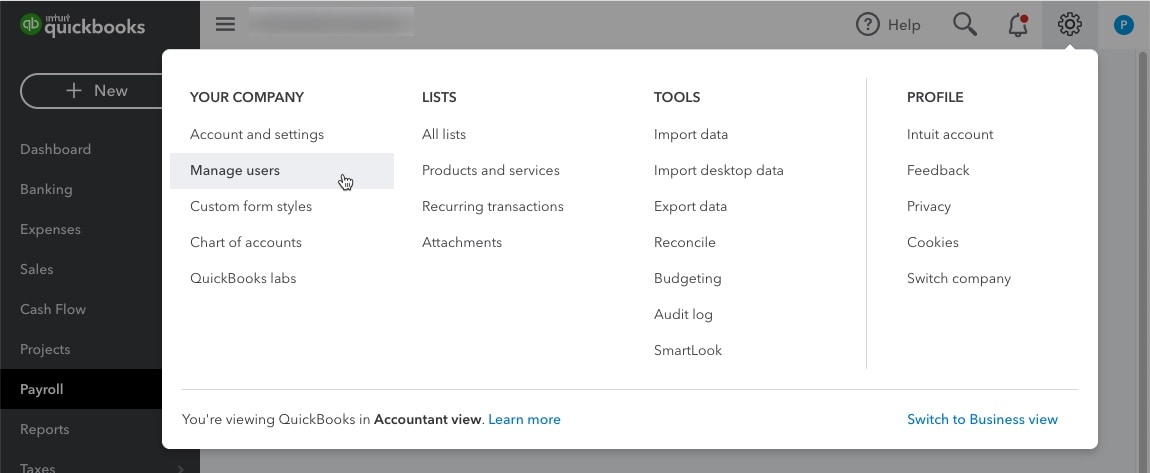
Select Settings ⚙️, then Manage users. By default, the person who set up the QuickBooks Online account will be the Primary administrator, but you can assign that role to another user if you prefer.
In most cases, you can customise both the user and their level of access. You can change or adjust the access you grant your users at any time.
You also have access to the Audit log. This feature is helpful for when you want to see the actions a specific user has taken within QuickBooks Online. You can also select Settings ⚙️, then Manage users. Under the Action column, select View user activity from the dropdown menu.